Last updated November 17, 2026








Free written scope consultation - allowances, timeline, and change-order rules on paper before a single trade is scheduled
Bathroom Remodeling Troubleshooting: Common Problems and How to Fix Them
Tile failure in a shower is almost never a tile problem. It’s a waterproofing membrane problem that became visible the day the grout finally cracked, and fixing it means tearing out work that looked finished and paid-for weeks ago. That’s the hard truth about bathroom remodel problems: they don’t announce themselves loudly. They show up six months later as a soft spot under the tile, a vanity door that won’t close, a white chalky stain creeping up the baseboard. This guide is written for Santa Clara homeowners who want to catch those problems before drywall goes up, and to know exactly what to do if the quiet failure has already surfaced after the contractor drove away.
Quick Answer
Most bathroom remodel problems after completion trace back to four things: moisture behind the tile, a drain flange set at the wrong height, missing blocking inside the wall, and shortcuts in the waterproofing layer during the framing stage. Some of these are surface fixes. Others mean the wall has to come open again. The way to tell the difference is to inspect the substrate before drywall goes up and to photograph everything, so a defect months later can be traced and claimed cleanly.
Styles & brands we work with
- Kitchen remodeling
- Bathroom remodeling
- Home additions & ADU
- Roofing
- Windows & doors
- Driveway & pavers
- Fence
Table of Contents
- The Pre-Drywall Inspection Walk-Through
- Surface Fix or Substrate Rebuild? How to Diagnose
- California’s 10-Year Latent Defect Statute vs. Your Contractor Warranty
- What to Document Before You Call Anyone
- The Three Most Common Santa Clara Inspector Callbacks
- Remodel Errors You Can Catch Only Mid-Job
- Common Mistakes to Avoid
- When to Call a Professional
The Pre-Drywall Inspection Walk-Through
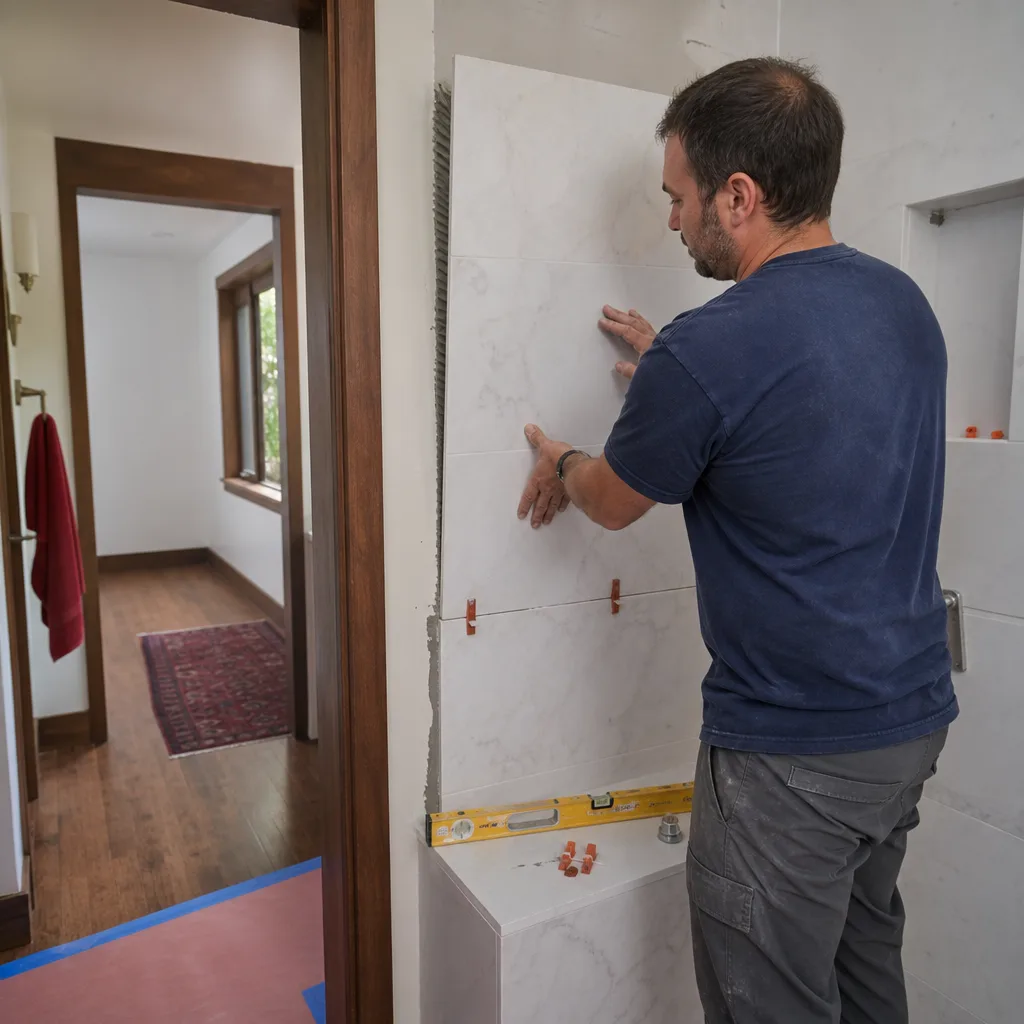
The most valuable twenty minutes of any bathroom remodel happen before the drywall goes up. That’s when every mistake is still cheap to fix and every shortcut is still visible. Ask your contractor to schedule a walk-through at that stage and bring a notebook, a phone with a camera, and a small level. We’ve seen homeowners catch a missing shim, a wrong drain set, and a backer board that was never screwed to the studs, all in the same afternoon, just by looking.
Here is the checklist we use. You can borrow it.
- Backer board thickness and fastening. In a wet area like a shower wall, the substrate should be cement board, not green drywall. Tap it with a knuckle. It should sound hard. Check that screws are set every 8 inches along the studs and that the panel joints are staggered.
- Waterproofing membrane laps. A sheet membrane or liquid-applied coating should be continuous, and the laps should overlap in the direction water flows, meaning the upper layer overlaps the lower one. Look for pinholes, thin spots, and corners where the membrane has pulled.
- Drain flange height. The shower drain flange should sit flush with the top of the mortar bed and be sealed with a proper clamping ring. If it’s set too high, water pools around the perimeter of the drain. If it’s too low, the tile bed has no depth to drain into.
- Blocking for grab bars. Any future grab bar or towel ring needs solid wood blocking behind the backer board. Look for a 2×6 or 2×8 horizontal nailer at about 33-36 inches off the floor in the shower.
- Niche and bench framing. Shower niches should be framed dead-level or pitched slightly forward. Benches should be sloped so water drains forward, not back into the wall.
- Valve depth. The rough-in valve for your shower should protrude o the correct depth for the trim kit. Ask for the manufacturer’s template and confirm it, don’t eyeball it.
- Floor slope. The shower pan should pitch to the drain at about 1/4 inch per foot. Set your level on it in several directions and watch the bubble.
If any of these items don’t pass, do not move on to drywall. Ask your contractor what they plan to change and photograph the correction. If you’re working with a general contractor on a broader project, this same standard applies across the whole home. Our page on General Contractor in Santa Clara explains how scheduling and inspection phases typically line up.
Surface Fix or Substrate Rebuild? How to Diagnose
The homeowner question we hear most: is this a Friday afternoon fix or a header-dropping rebuild? Three symptoms tell you.
- A soft or hollow tile. Tap it gently with a coin. A hollow sound means the tile has separated from the substrate. If it’s one isolated tile and the surrounding grout is intact, it may be a single-tile replacement. If two or more adjacent tiles sound hollow, the substrate under them is the problem.
- A loose fixture or faucet. A faucet that wiggles, a shower handle that won’t hold a position, a toilet that rocks at the floor. Sometimes that’s a stripped bolt or a worn cartridge. Sometimes it means the backing inside the wall was never installed. Check for water staining around the base before deciding.
- Efflorescence, the white chalky stain. Efflorescence is salt that wicks out of mortar or grout as moisture moves through it. A light dusting on a cold exterior wall can be harmless. Efflorescence on an interior shower wall or bathroom floor, especially when it recurs, means water is traveling through the assembly to get to the surface. That is almost always a membrane problem.
One more test: run the shower for ten minutes and watch under the floor near the drain from below if you have access. A drop forming on the drywall below the shower pan means the pan itself is leaking. Not a surface fix. Not something sealer will solve.
For tile and fixture brand choices, this matters less than the assembly behind them. A Cambria quartz or Silestone vanity top will last decades, but it sits on a cabinet that depends on the same dry substrate as everything else in the room. The finish is the easy part. The substrate is what fails quietly.
California’s 10-Year Latent Defect Statute vs. Your Contractor Warranty
California gives homeowners two very different clocks, and most people confuse them. The two clocks measure different things.
The first is the contractor’s written warranty. Ours is the 365-Day Done Right Promise: if the work fails inside the first year, we come back and fix it at no charge. That’s a service warranty, written on the contract, and it covers the workmanship we performed. It’s a promise about our labor, and a good one is signed and dated before the work starts.
The second is California Code of Civil Procedure Section 337.15, the state’s 10-year latent defect statute. It says a homeowner has up to ten years from the date of substantial completion to bring a claim for a latent construction defect, meaning a problem that a reasonable inspection wouldn’t have caught. A membrane that was installed too thin and fails in year four is a classic latent defect. A tile that popped off the wall in month two is not, because you would reasonably have caught it.
Why does the distinction matter? Because after the 365-Day Done Right Promise ends (or your contractor’s shorter warranty window closes), your leverage shifts from “please fix this” to “here’s what the law allows.” A well-documented claim stays strong either way. An undocumented one is much harder. We tell every homeowner we’ve worked with to keep their contract, their changes, and their inspection photos for at least eleven years. It sounds paranoid. It’s just practical.
What to Document Before You Call Anyone
If the problem has already surfaced, the next step is the most boring one and the most important: build a file. Do this before you call the original contractor, before you post anything to social media, and before you start ripping out anything that might be evidence.
- Photos with timestamps. Take wide shots so the damage is obviously located in the right room, then close-ups. Phone cameras record the date in the metadata automatically, so keep the originals. Don’t crop or edit them. If you use an app that strips metadata, take a backup with a separate camera or in front of a visible date reference.
- A dated written log. A simple spreadsheet or notebook. Date, time, what you did, what you observed, who you talked to. This becomes the backbone of any warranty claim or CSLB complaint months later.
- The maintenance history. Anything you’ve done in the bathroom since completion: resealing, caulking, cleaning products. If you’ve used a harsh acidic cleaner on a natural stone or a specific shower pan, note it. That’s not about blame; it’s about accurate diagnosis.
- Your contract, change orders, and write-ups. The written price we require before any work starts is a document you should still have. If your contractor handed you a verbal estimate and the final number came in higher, that’s not just a bad experience, it’s the reason those documents exist.
- The written warranty. If you can’t find it, request a copy in writing. A real warranty is available in writing. A verbal one isn’t a warranty, it’s a conversation.
- A written punch list before completion. When you walk the job at the end, put every item on a punch list and get a written response from the contractor before final payment. Item by item, dated. If they fixed it, say how. If they declined, say so in writing.
If you do need to file a CSLB complaint or invoke a warranty and the paper trail is thin, the file you build now is what you have. It’s a lot easier to build it the week after the problem shows up than the year afterward.
The Three Most Common Santa Clara Inspector Callbacks
We’ve spent a lot of time around inspections in Santa Clara, and the same three callbacks come up again and again. Knowing them in advance is how you catch them before the inspector does.
1. The shower pan pre-slope
Code requires a sloped bed under the waterproof membrane, not just on top of it. Contractors who skip the pre-slope (because it’s hidden and quick to skip) still pass a flood test but accumulate water in the pan over time. Ask your contractor to show you the pre-slope before the membrane goes down, and to photograph it. If they can’t, ask to see the flood test log. A proper flood test holds water above the drain with a plug for 24 hours and shows no loss of level.
2. The GFCI circuit in the wet zone
Bathroom receptacles need GFCI protection, and the protection needs to be verified at the breaker or the receptacle, not assumed. Santa Clara inspectors are consistent on this one. The callback usually isn’t that the GFCI is missing, it’s that the reset test wasn’t documented or the protected circuit doesn’t extend to every receptacle. Confirm in writing that the electrician tested and reset every GFCI loop on the final walk.
3. The exhaust fan vent termination
Bath fans need to vent to the exterior, not to the attic. In Santa Clara’s older housing stock, plenty of fans terminate right into the attic space, and the inspector catches it during the insulation or final inspection. If you’re replacing the fan or having one added, ask the contractor to show you where it terminates. A photo of the exterior termination from the roof or the soffit is the cleanest confirmation.
When each of these is corrected, ask the contractor to sign off in writing with a photo. A callback that’s resolved quietly is fine; a callback that’s resolved without a record is an open question. For more on how a typical Santa Clara bathroom remodel sequences inspections, see our Bathroom Remodeling in Santa Clara page.
Remodel Errors You Can Catch Only Mid-Job
Some mistakes can be seen after the fact. Others only exist for a window of a few days. Here are the mid-job items worth scheduling your own visit for.
- The drain flange sitting high or low. Once the tile is set, this is nearly invisible. Before, it’s a five-minute check with the level.
- Blocking missing in the walls. Once the backer board goes on, nobody knows. Ask to walk the room the day before the drywall is scheduled.
- Improperly lapped house wrap or membrane at a shower/tub transition. The membrane behind the tile should overlap the flange of the tub or shower pan; not the other way. It’s a five-second check, and a costly one to skip.
- Fasteners through the waterproofing layer. A screw that penetrates the membrane in the shower is a leak waiting for a slow season. Count the fasteners in the wet zone once the board is up.
- Improper toilet flange height. The toilet flange should sit flush with the finished floor, not below it and not above it. If it’s off by a quarter inch, plan to replace the wax ring and reset the toilet later.
If you’re remodeling the kitchen on the same job, the same discipline applies there. Our Kitchen Remodeling in Santa Clara page covers what to check behind the cabinet run and under the sink before the countertops go in.
Common Mistakes to Avoid
- Accepting a verbal estimate. A price that changes after demo day is the most common consumer complaint in remodeling. Get the number in writing before any work starts, and treat any contractor who resists that as a signal.
- Skipping the substrate inspection. Many homeowners visit the job on day one and then not again until tile. The most important check happens between framing and drywall, and if you miss it, you’ll never see what was hidden.
- Caulking over a problem. New caulk on a shower seam that keeps pulling away is masking a moisture issue behind it. The caulk isn’t the problem; the water is.
- Judging the contractor by the finish, not the assembly. A good-looking tile job over a bad membrane will fail. A slightly imperfect tile job over a proper membrane will outlast the house. Look at what’s behind the surface before you praise the surface.
- No written warranty. If you can’t find the warranty in writing, you don’t have one. Get a copy of the contractor’s written guarantee before work begins, and read what it covers and for how long.
- Ignoring a callback. An inspector callback isn’t a contractor failure; it’s a process step. What matters is that it was corrected and documented. Ask for the sign-off.
- Buying on brand alone. Master Halco, Ameristar, and Bufftech all make credible products, and Kohler or Moen fixtures are what we install often. None of that matters if the wall behind them wasn’t waterproofed correctly.
When to Call a Professional
Some bathroom problems are genuinely DIY territory: a loose towel bar, a chipped tile, a fan grill that needs cleaning. Others are not. If you can see a soft spot under the tile, if the shower pan leaks, if the membrane behind the wall has failed, if a vapor barrier or waterproofing layer is compromised, or if any plumbing or electrical work is inside the wet zone, that’s the line. Do not open a shower pan or pull plumbing fixtures without a professional on site. The exposed layers are exactly the ones that cause the worst long-term damage when disturbed.
If you’re past the 365-Day Done Right Promise window on a previous project or working with a contractor you can’t reach, an inspection by a licensed general contractor will tell you whether you’re looking at a surface fix or a rebuild. That diagnostic visit is what you’re paying for. The repair comes after. Penhallow Remodeling Santa Clara offers free estimates in Santa Clara, and our team can walk the space with you. Call (833) 400-6838 to schedule one.
See the difference
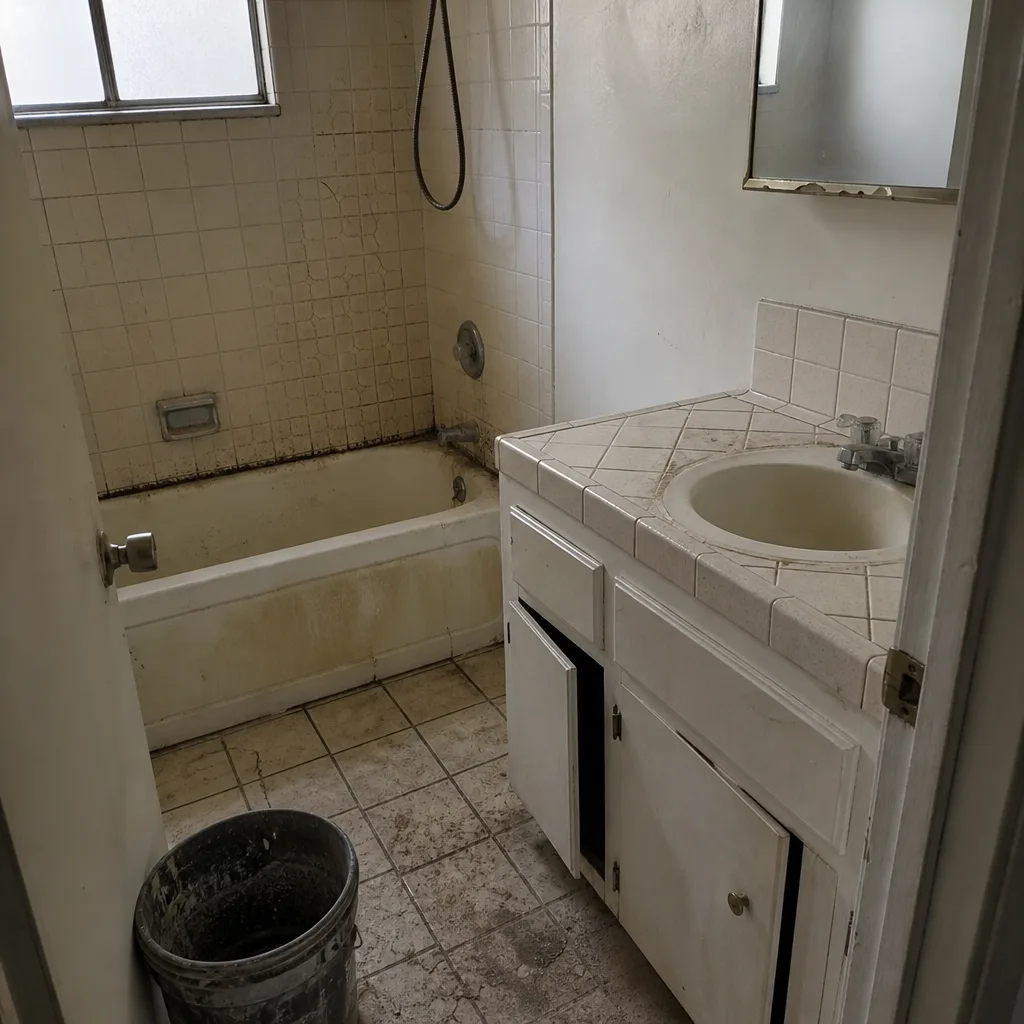 Before
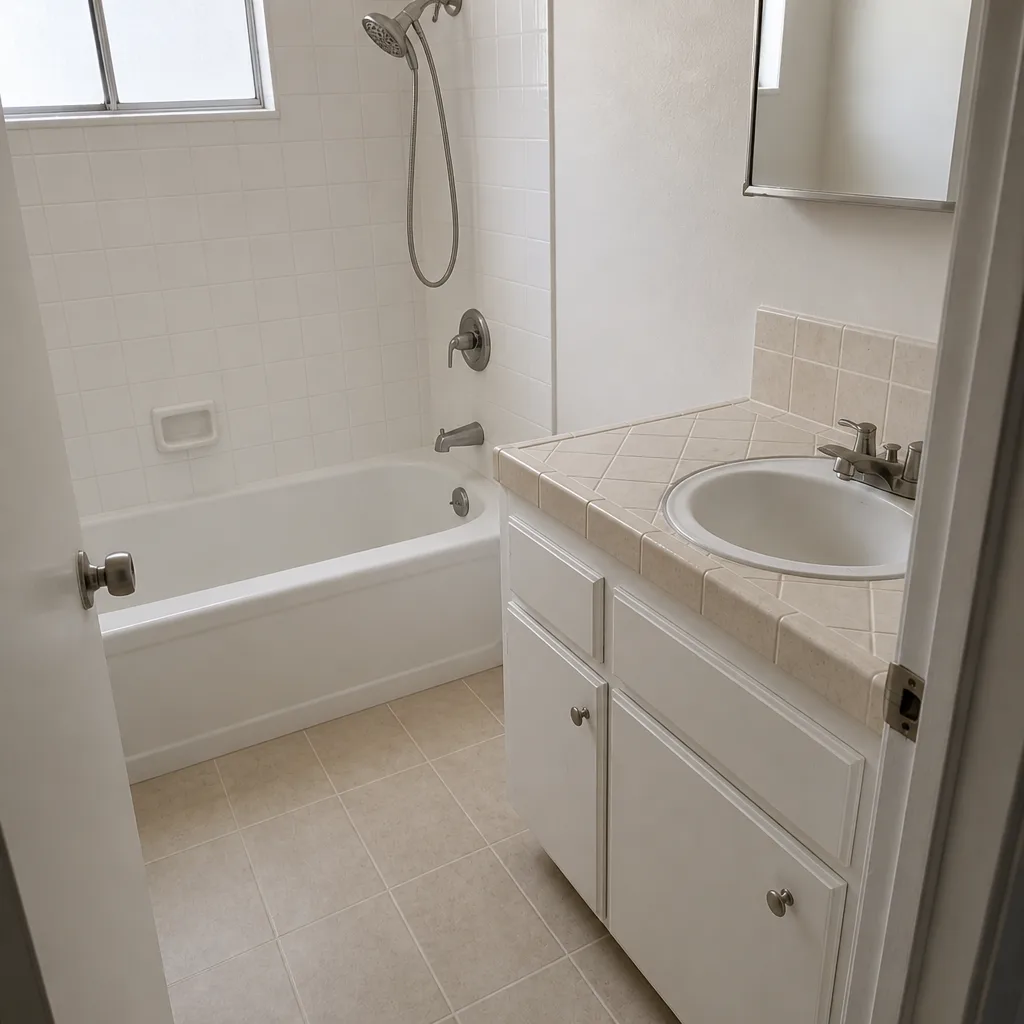 After
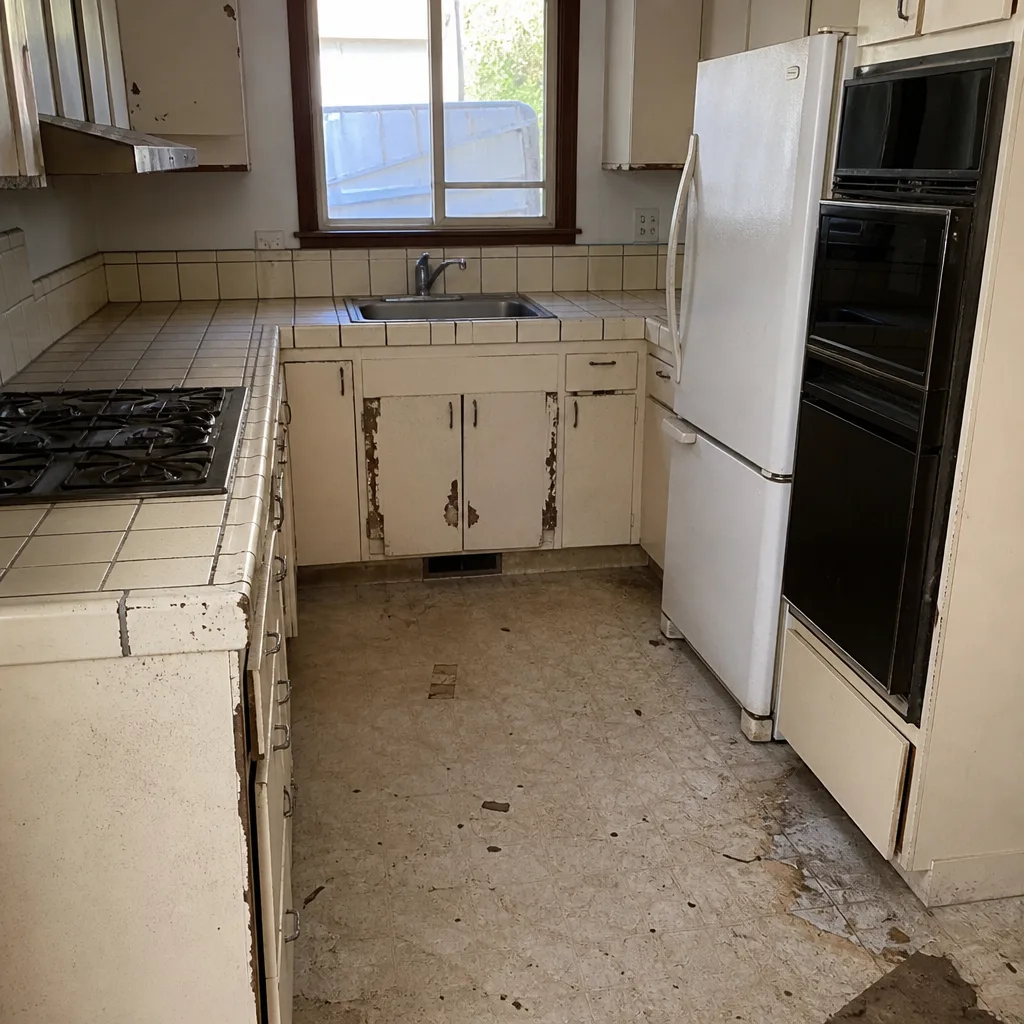 Before
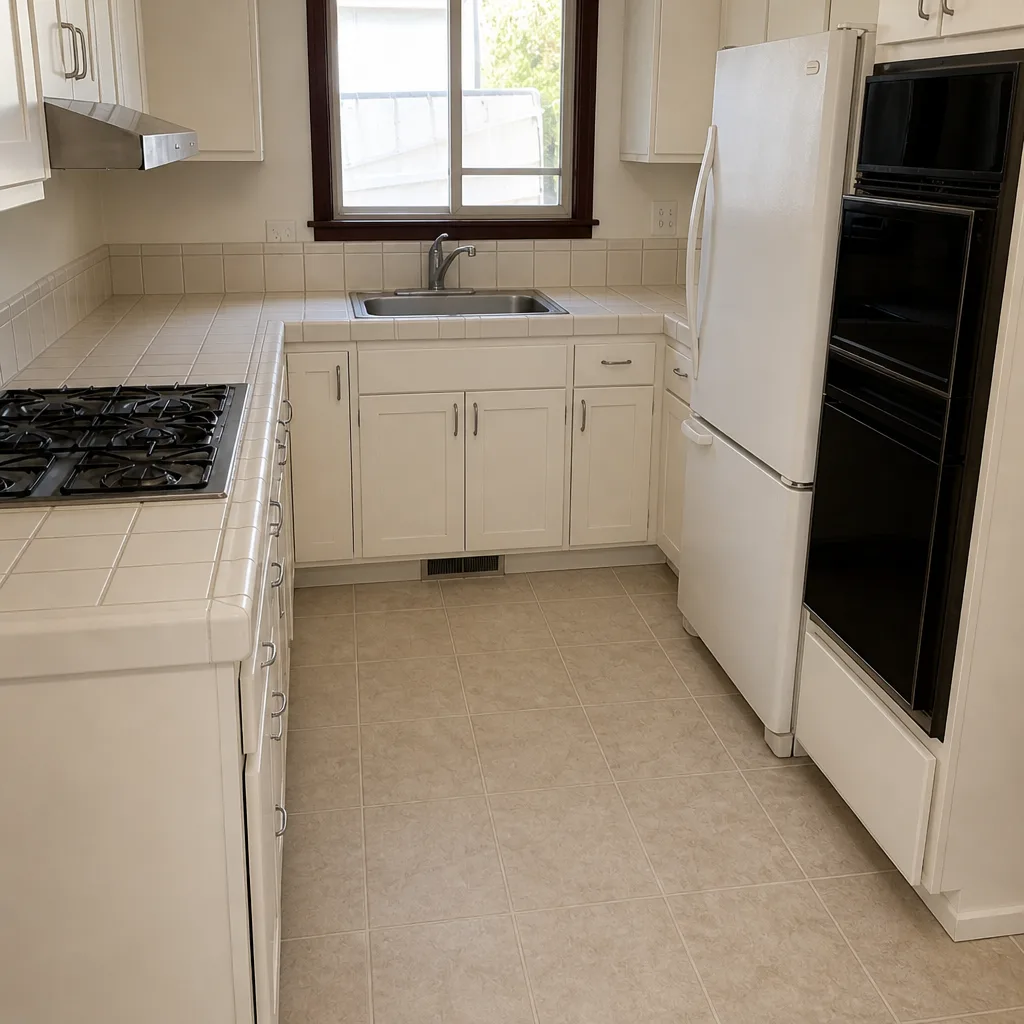 After
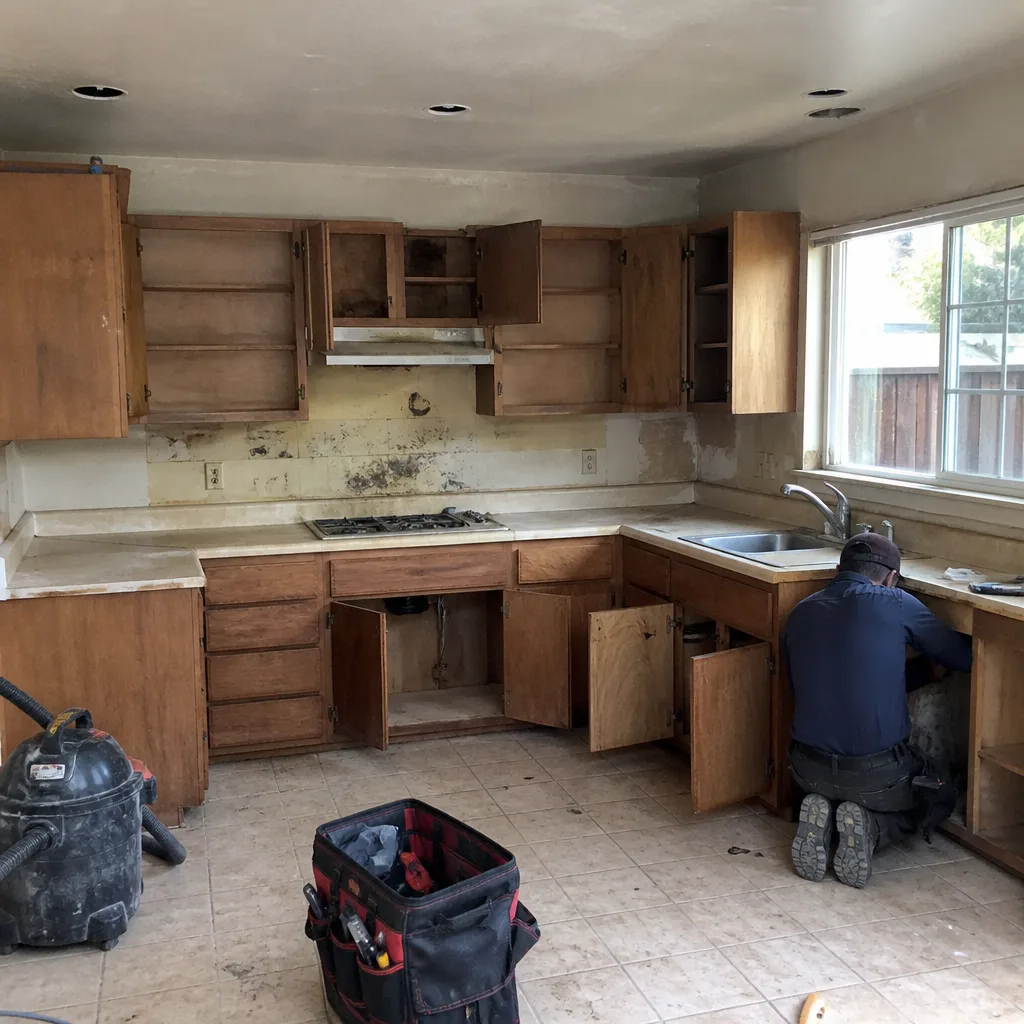 Before
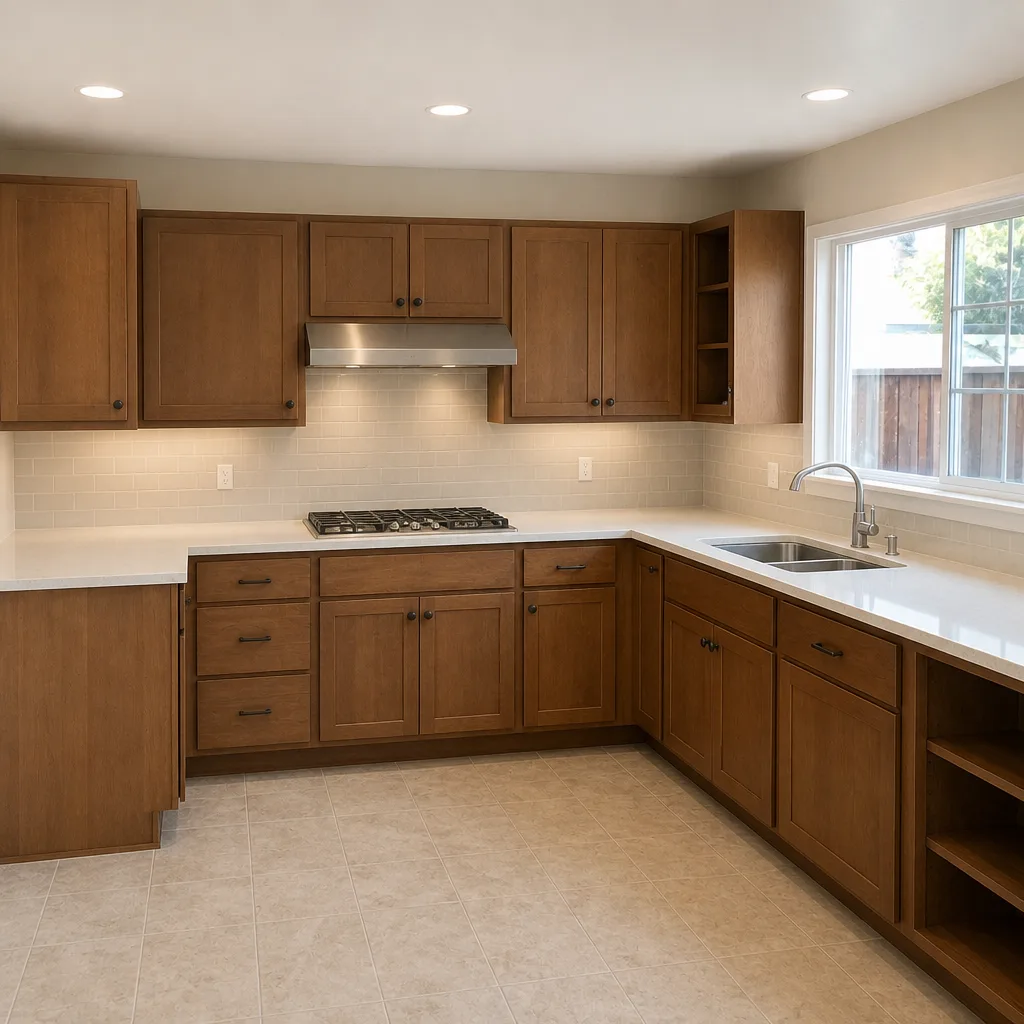 After
Frequently Asked Questions
Photograph everything before touching it, then read your signed warranty to see what window you’re in. A 365-Day Done Right Promise or your contractor’s written warranty is where most fixes live; after that window, California’s 10-year latent defect statute is the next layer of protection. Call the original contractor in writing, not by phone, so the conversation has a paper trail.
A sealed grout line is cosmetic; a failed membrane is structural. If the leak is at one grout line and stops when you seal it, it’s a surface issue. If water keeps showing up under the floor after resealing the grout, or if you find efflorescence on the wall 6 or more feet from the floor, the membrane has failed, and the tile has to come off. Call (833) 400-6838 if you’d like a second opinion before you tear into it.
Yes, if the failure is from our workmanship inside the one-year window. That’s the whole point of the written promise: if the work fails, we come back and fix it at no charge. The one condition is that the failure wasn’t caused by a homeowner modification or damage after completion. If you’re not sure, call and we’ll tell you straight.
Shower pan pre-slope, GFCI protection in the wet zone, and bath fan exterior termination. Santa Clara inspectors flag all three regularly, and all three are easier to fix before drywall than after. Ask your contractor to photograph the pre-slope, the GFCI reset test, and the fan rooftop or soffit termination as part of the final file.
You need the signed contract, the written price you were quoted, a written warranty (if any), dated photos of the defect, and a written log of what you observed and when. The CSLB’s process also supports attaching change orders and prior written communications with the contractor. If you have those, the complaint is straightforward. If you don’t, the CSLB will still accept the complaint, but resolution takes longer. For more on our process around written pricing, see our Penhallow Remodeling Santa Clara home page.
Under our 365-Day Done Right Promise, no. If a repair fails inside the guarantee period, we come back and make it right at no charge, including a free second visit if the first repair doesn’t hold. That’s the standard we operate to, and it’s written into the contract.
The Bottom Line
Bathroom remodel problems almost always start before the drywall goes up, and the homeowner who walks the job with a checklist and a camera is the one who catches them early. If a problem has already surfaced, build the file first: dated photos, a written log, the contract, the warranty. Then decide whether it’s a surface fix or a substrate rebuild, and use the correct clock, either the contractor’s written promise or California’s 10-year latent defect window, to claim it. Check the three callback items in Santa Clara carefully. A written guarantee and a clean paper trail turn most of these problems from a fight into a service call. That’s the standard Penhallow Remodeling Santa Clara works to every day.
Get a free estimate
If you’re mid-project or post-project and want a diagnostic walk-through, call Penhallow Remodeling Santa Clara at (833) 400-6838. Every estimate is written, every price is fixed before work starts, and every job comes with a written guarantee and our 365-Day Done Right Promise. A live person answers the phone, any hour. Free estimates are available throughout Santa Clara and the surrounding neighborhoods.
Written by the team at Penhallow Remodeling Santa Clara.