
Last updated November 17, 2026








Free written scope consultation - allowances, timeline, and change-order rules on paper before a single trade is scheduled
Bathroom Remodeling Maintenance Schedule: What to Do and When
The caulk joint between your tub and tile should be checked and re-caulked within 12 months of installation. Not because the contractor did it wrong, but because new construction settles, silicone shrinks as it cures, and that hairline gap opens before most homeowners think to look. In Santa Clara, where indoor humidity climbs through the wet winter months and the HVAC dries everything out again by June, that joint works harder than it does almost anywhere else in the country. This guide lays out a month-by-month first-year maintenance calendar for a newly remodeled bathroom, shows you how to tell a cosmetic gap from a water problem, covers exhaust fan requirements, and explains which tasks protect your warranty. A remodeled bathroom lasts 25 to 30 years when it’s maintained this way. Skip the first year and you’ll be repairing substrate in five.
Quick Answer
A remodeled bathroom needs three things in year one: grout sealed at months 3 and 12, caulk joints inspected every 6 months and re-caulked by month 12, and the exhaust fan cleaned and verified at months 1 and 7. After the first year, move to an annual schedule: re-seal grout, re-check caulk, tighten fixtures, and flush the drain. Everything else is cosmetic. Handle these four and the waterproofing layer behind your tile stays dry, which is what actually determines whether the job lasts.
Styles & brands we work with
- Kitchen remodeling
- Bathroom remodeling
- Home additions & ADU
- Roofing
- Windows & doors
- Driveway & pavers
- Fence
Table of Contents
- The First-Year Maintenance Calendar
- Grout Sealing: When and How Often
- Caulk Inspection and the Probe Test
- Exhaust Fan CFM and Santa Clara Humidity
- Re-Tightening Fixtures and Torque Guidance
- Warranty Tasks vs. Licensed Trade Work
- Keeping a Maintenance Log That Supports a Claim
- Common Mistakes to Avoid
The First-Year Maintenance Calendar
The first year is different from every year after it. New tile, new grout, and new silicone are still moving. Cement board substrate (the moisture-resistant layer behind your tile) absorbs and releases a little moisture as the assembly cures, and the wood framing behind it settles into the load. That movement is normal. What isn’t normal is ignoring it.
Here’s the calendar we hand homeowners after a bathroom remodeling in Santa Clara finishes:
- Month 1: Clean the exhaust fan grille and blade. Run a tissue test (hold a tissue to the grille; it should stick). Re-check all caulk joints for gaps.
- Month 3: Seal grout on floors and shower walls with a penetrating sealer. Check the toilet base for movement and snug the bolts if needed.
- Month 6: Full caulk inspection. Probe any gap around the tub or shower pan. Clean the fan again. Check the shower door sweep.
- Month 9: Re-check grout lines in the shower floor for pinholes or crumbling. Snug cabinet hardware and towel bars.
- Month 12: Re-caulk all wet-area joints. Re-seal grout. Full fixture check. Record everything in your log.
Months 3, 6, and 12 are the important ones. Those are the points where cured grout, cured silicone, and settled framing reveal what moved. Santa Clara’s dry summers mean the assembly dries fast and shrinks; the wet winters swell it back. Getting eyes on the joints at those three checkpoints catches problems while they’re still a tube of caulk and a Saturday morning.
Grout Sealing: When and How Often
Seal new grout at month 3, then once a year after that. Not at month 1 – fresh grout needs to cure and release its residual moisture first, and sealing too early traps that moisture in the joint. Cementitious grout is porous by design. The sealer fills the pores so water beads on the surface instead of soaking in.
How to tell if your grout needs re-sealing: drip a few drops of water on the floor grout. If they bead up, the sealer is holding. If they darken the grout within a minute, it’s time.
- Penetrating sealer is what you want for shower floors and walls. It soaks into the grout and doesn’t leave a film.
- Epoxy grout doesn’t need sealing at all. If your Santa Clara remodel used epoxy in the shower, skip this task entirely.
- Natural stone tile (travertine, marble) needs a stone-specific sealer. A standard grout sealer can etch the surface.
One thing to know about Santa Clara water: it runs hard. Mineral content leaves deposits in grout lines that look like dirt but are actually calcium. A sealer makes those deposits easier to scrub off, so re-sealing on schedule saves you scrubbing time as much as it protects the grout.
Caulk Inspection and the Probe Test
Inspect every caulk joint every 6 months, and re-caulk the wet-area joints – tub-to-tile, shower pan-to-wall, backsplash-to-counter – within 12 months of installation. Silicone shrinks as it cures and loses adhesion where the two surfaces move differently. That’s a fact of the material, not a defect in the installation.
Here’s the question that matters: is the gap cosmetic, or has water already gotten behind the tile? The probe test answers it.
- Dry the joint with a towel and let it sit for an hour.
- Slide a plastic putty knife (never metal) into the gap, gently, about a quarter inch.
- Look at what comes out. Clean, dry adhesive residue means the gap is cosmetic. Dark, soft, or crumbly material means moisture has been wicking behind the tile.
- Press the tile above the gap. If it feels spongy or sounds hollow, water has reached the substrate and you need a tile contractor, not a tube of caulk.
Cosmetic gap: re-caulk it yourself with 100% silicone, not acrylic. Acrylic caulk in a wet area is a losing bet every time. If the probe test turns up soft substrate or a spongy tile, stop and call. That’s a waterproofing failure, and it falls under warranty work if it happened inside the guarantee window. In Santa Clara, we see this most often on tub surrounds in older homes where the original substrate was drywall, not cement board. If your remodel replaced the substrate properly, this is a rare outcome. If it didn’t, no amount of caulk fixes it.
Exhaust Fan CFM and Santa Clara Humidity
Your bathroom exhaust fan should move at least 1 CFM (cubic feet per minute) for every square foot of bathroom floor, and 100 CFM minimum. A 60-square-foot bathroom needs a 60 CFM fan at the floor minimum; a 10-by-10 bathroom needs 100 CFM. Most builder-grade fans installed before 2010 move 50 to 80 CFM, which is underpowered for a Santa Clara bathroom with a shower that runs 15 minutes.
Why Santa Clara specifically? The climate splits hard. Summer indoor humidity sits around 40 to 50 percent, then the winter rains push it to 70 percent or higher inside a bathroom with no window. A fan that’s undersized or clogged can’t clear that moisture, and it condenses on the coolest surface in the room – usually the exterior wall behind the tile.
How to check whether your fan is doing its job:
- The tissue test. Hold a single-ply tissue against the grille. It should stay there for as long as the fan runs. If it falls, airflow is weak.
- The mirror test. Run the shower for 10 minutes with the fan on and the door closed. If the mirror fogs and stays fogged more than 5 minutes after you shut the water off, the fan isn’t clearing the room.
- The timer test. The fan should run 20 minutes after a shower, not 2. If your fan is wired to the light switch, it’s shutting off while the room is still wet. A humidity-sensing switch or a 20-minute timer solves this for about the cost of a dinner out.
Clean the grille and blade every 6 months. Dust on the blade cuts airflow more than most people realize – a fan at 40 percent dust load can lose a third of its CFM. If your fan is under 80 CFM and your bathroom has no window, upgrading to a 110 CFM unit is the single best moisture investment you can make in a Santa Clara home. A general contractor in Santa Clara can quote the swap as a small standalone job.
Re-Tightening Fixtures and Torque Guidance
Re-tighten fixtures at month 6 and again at month 12. The toilet, faucet handles, shower valve trim, towel bars, and cabinet pulls all loosen as the assembly settles. A wobbly toilet is the one that matters – a rocking toilet compresses the wax ring, and a compressed wax ring leaks onto the floor, not into the drain.
Torque guidance, in plain terms:
- Toilet floor bolts: snug plus a quarter turn. About 15 to 20 inch-pounds. Tighten evenly, alternating sides. If the toilet still rocks, stop tightening and add a shim – over-torquing cracks the porcelain base.
- Faucet supply connections: hand-tight plus a quarter turn with a wrench. More than that crushes the washer.
- Shower valve trim screws: snug only. These are small machine screws into brass; strip one and you’re pulling the valve.
- Towel bars and grab bars: check the wall anchor, not just the screw. A loose grab bar is a fall risk, and in a Santa Clara bathroom with tile, a loose anchor means the hole in the tile is wallowed out.
One fixture rule we give every homeowner: never use a wrench on a Kohler or Moen faucet aerator or handle. Those are hand-tight parts with plastic internals. A wrench rounds them off and the replacement part costs more than the visit would have.
Warranty Tasks vs. Licensed Trade Work
Some maintenance protects your warranty, and some tasks void it if you do them yourself. The line is simpler than it sounds: cleaning, sealing, and re-caulking are homeowner tasks. Anything that touches the supply lines, the drain, the electrical, or the waterproofing layer is trade work.
Do it yourself (safe, and it keeps your warranty intact):
- Sealing grout with a penetrating sealer
- Re-caulking wet-area joints with 100% silicone
- Cleaning the exhaust fan grille and blade
- Snugging toilet bolts, towel bars, and cabinet hardware
- Cleaning the shower door track and sweep
Call a licensed plumber or tile contractor:
- Any supply line leak, even a slow drip at the shutoff valve
- Replacing the shower valve cartridge (a Kohler or Delta cartridge swap done wrong floods the wall)
- Any hollow-sounding tile or soft substrate behind the caulk line
- Re-grouting – not re-sealing, but grinding out and replacing grout – because a bad grind chips tile edges
- Anything electrical inside the fan housing beyond cleaning the grille
In Santa Clara, a standard homeowner’s policy usually covers sudden water damage from a failed supply line but not gradual damage from a caulk gap you ignored for two years. That distinction matters. Your maintenance log is what proves the difference between “the valve failed” and “they let it leak.” If your bathroom remodel in Santa Clara is still inside the 365-Day Done Right Promise, a genuine installation failure is on us, and we come back at no charge. A caulk joint that needs routine re-caulking at month 12 is maintenance, not a failure, and the calendar above is how you tell them apart.
Keeping a Maintenance Log That Supports a Claim
Keep a dated log of every maintenance task you perform. A one-page document or a note on your phone works. What matters is the date, the task, and a photo. If something fails inside the guarantee window, that log is the difference between a warranty claim that gets approved and one that turns into an argument about whether you maintained the bathroom.
What to record:
- Date and task. “March 14 – sealed shower floor grout with penetrating sealer.”
- Product used. Brand and type. If a sealer fails, the product matters.
- Photo before and after. One wide shot, one close-up of the joint or grout line.
- Anything you noticed. A soft spot, a hairline crack, a little movement in the toilet. Note it even if you didn’t fix it.
Most warranty claims we see fail for one of two reasons: no record of maintenance, or the homeowner did trade work themselves and the failure traces back to it. A log fixes the first. The task list above fixes the second. And keep the log somewhere dry – not in the bathroom cabinet under the sink, where a slow leak will destroy it.
Common Mistakes to Avoid
- Re-caulking over old caulk. New silicone won’t bond to cured silicone. You have to remove the old bead completely, clean with denatured alcohol, and let it dry before the new bead goes down. Skip the removal and the joint fails again in 90 days.
- Using acrylic caulk in the shower. Acrylic is for dry areas only. In a wet joint it molds, shrinks, and peels. Always 100% silicone in the shower and tub surround.
- Sealing grout too early. Sealing fresh grout traps curing moisture. Wait the full cure period – and for a new Santa Clara remodel, month 3 is the safe window.
- Ignoring a hollow-sounding tile. A hollow tile above a caulk joint usually means the thinset didn’t bond or water has reached the substrate. Caulk won’t fix it, and waiting turns a tile replacement into a wall rebuild.
- Running the fan on the light switch. Two minutes of fan after a 15-minute shower doesn’t clear the moisture. Santa Clara’s winter indoor humidity needs a 20-minute run, which means a timer or a humidity-sensing switch.
- Over-tightening toilet bolts to stop a rock. Tightening won’t stop the rock; it cracks the base. Shim it, then snug.
- No maintenance log. Without dates and photos, a warranty claim becomes your word against the record. The log is the proof.
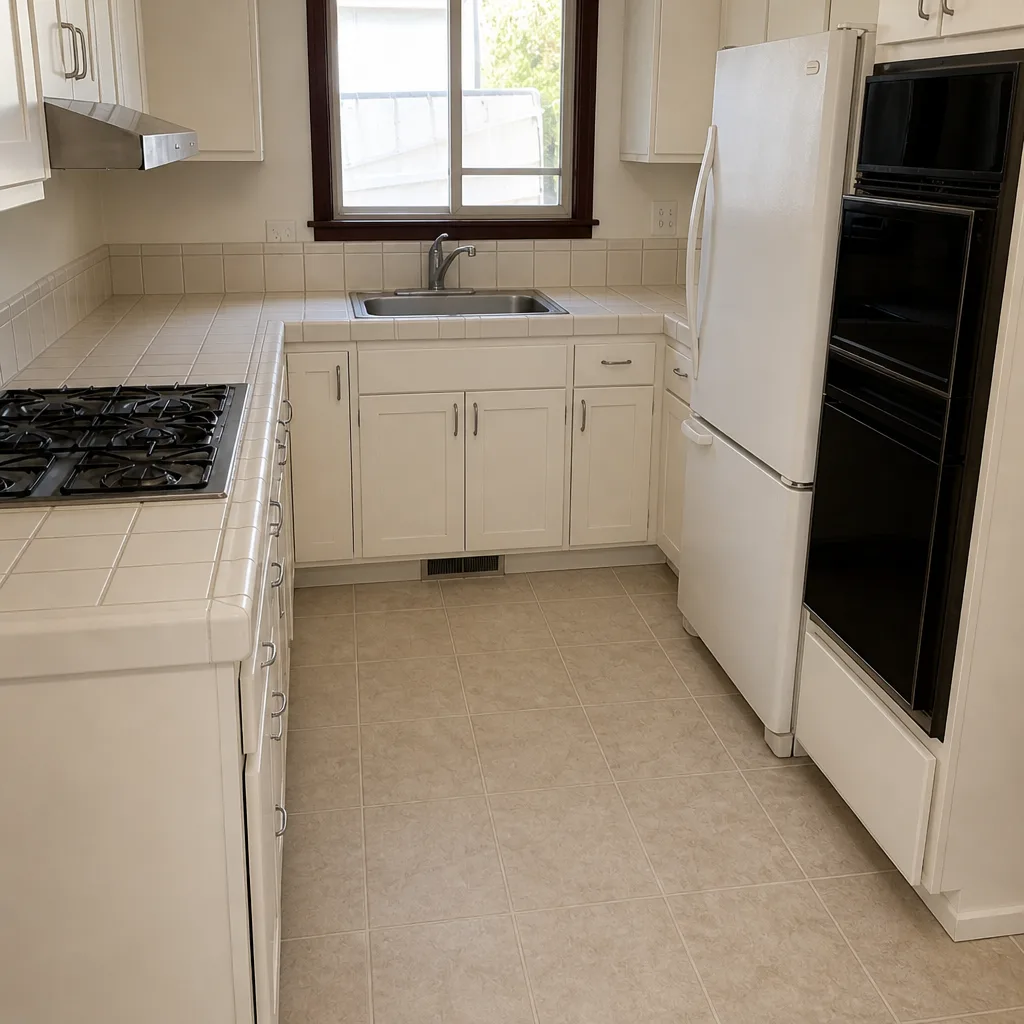
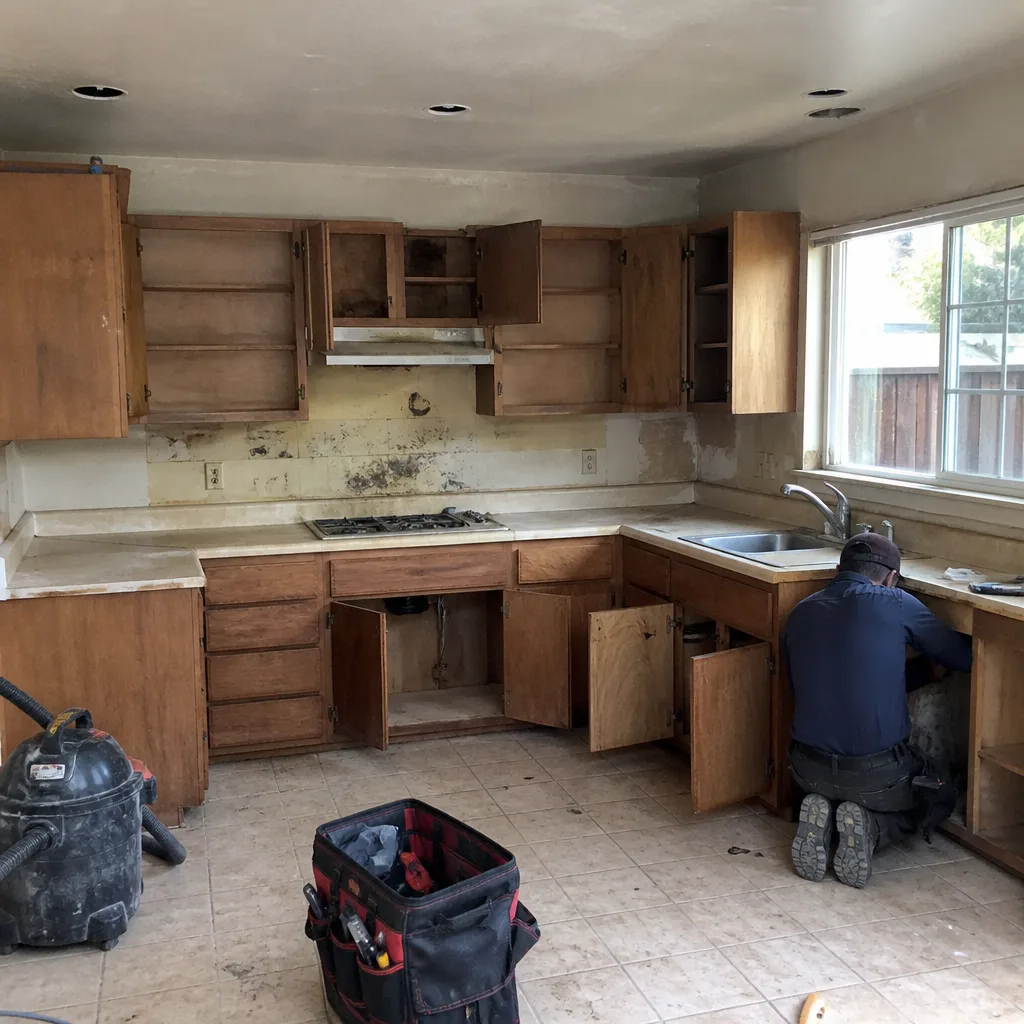
See the difference
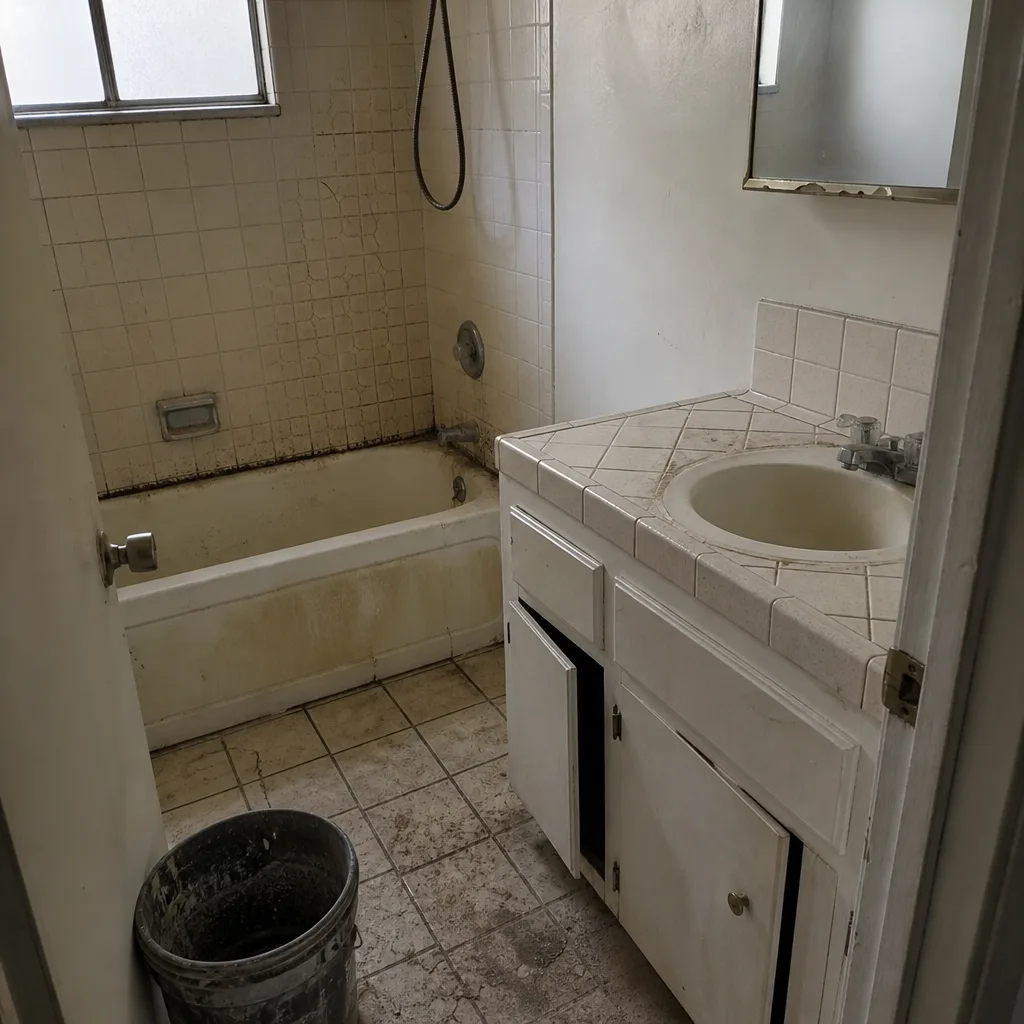 Before
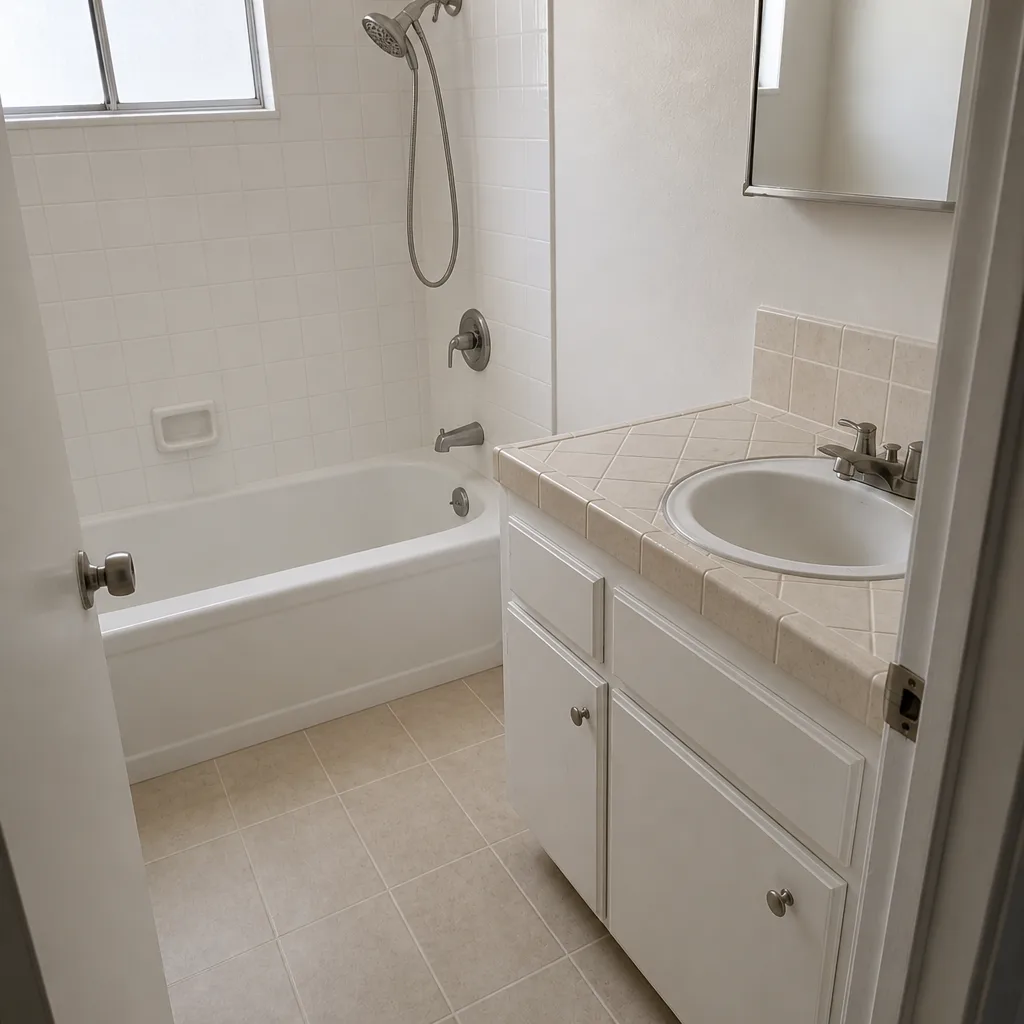 After
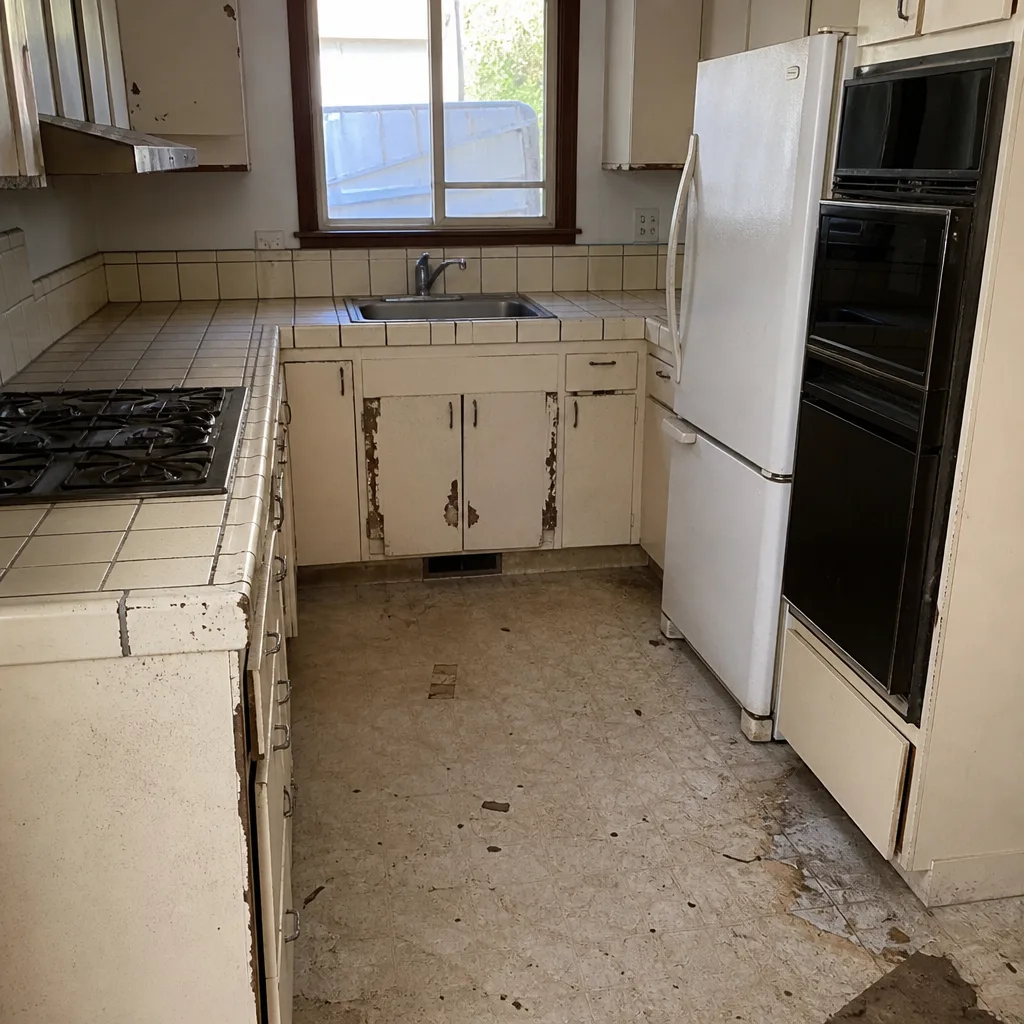 Before
 After
 Before
 After
When to Call a Professional
Call us when the probe test comes back wet – soft substrate, spongy tile, or dark material behind the caulk joint. Call when a supply line drips, a shutoff valve won’t close, or a shower valve cartridge needs replacing, because those are plumber work, not maintenance. Call when the exhaust fan is under 80 CFM and the bathroom has no window, because a fan upgrade is a small job with a big effect on Santa Clara’s winter moisture. And call if anything in your remodel fails inside the guarantee window, because that’s covered in writing and we come back at no charge. Penhallow Remodeling Santa Clara offers free estimates in Santa Clara – call (833) 400-6838 and a live person answers, day or night. You’ll get a written price before any work starts, a real arrival window, and a background-checked, uniformed technician at your door.
Frequently Asked Questions
Re-caulk the wet-area joints every 12 months, and inspect every 6 months. Silicone shrinks as it cures and loses adhesion where two surfaces move differently, so the joint between your tub and tile will open within a year of installation. Santa Clara’s wet winters and dry summers make that movement more pronounced than in a stable climate, so don’t skip the 12-month re-caulk. Call (833) 400-6838 for a free estimate if the probe test turns up soft substrate.
Yes, unless the grout is epoxy. Seal cementitious grout at month 3 and once a year after that. Fresh grout needs to cure and release residual moisture first, so sealing at month 1 traps water in the joint. The water-bead test tells you when it’s time: if drops bead up, the sealer is holding; if they soak in within a minute, re-seal. Call (833) 400-6838 for an exact quote on re-grouting if the joints have started to crumble.
A Santa Clara bathroom needs at least 1 CFM per square foot of floor area, with a 100 CFM minimum. A 60-square-foot bathroom needs 60 CFM at the floor, but we recommend 100 CFM anyway because Santa Clara’s winter indoor humidity hits 70 percent and higher. Most builder-grade fans move 50 to 80 CFM, which is underpowered. Check with the tissue test, then call (833) 400-6838 if the fan needs upgrading.
Do the probe test: slide a plastic putty knife a quarter inch into the caulk gap. Clean dry residue means the gap is cosmetic. Dark, soft, or crumbly material means water has been wicking behind the tile. Then press the tile above the gap – if it feels spongy or sounds hollow, water has reached the substrate and you need a tile contractor. Call (833) 400-6838 for a free estimate; if the failure is inside the guarantee window, the repair is on us.
No, as long as you stick to the homeowner tasks: sealing grout, re-caulking, cleaning the fan, and snugging fixtures. Doing trade work yourself – supply lines, drain work, shower valve cartridges, or electrical inside the fan housing – can void coverage if the failure traces back to it. Keep a dated log with photos of every task. That log is what proves routine maintenance if you ever file a claim. Call (833) 400-6838 for a free estimate on any repair that’s beyond maintenance.
A remodeled bathroom lasts 25 to 30 years when it’s maintained on this schedule. The grout, caulk, and exhaust fan are what determine that lifespan, not the tile or the fixtures. Skip the first-year calendar and the waterproofing layer fails in five to seven years, which means a wall rebuild instead of a tube of caulk. Santa Clara bathrooms with a properly sized fan and a yearly re-seal routinely make it to 30. Call (833) 400-6838 for a free estimate when it’s time to plan the replacement.
The Bottom Line
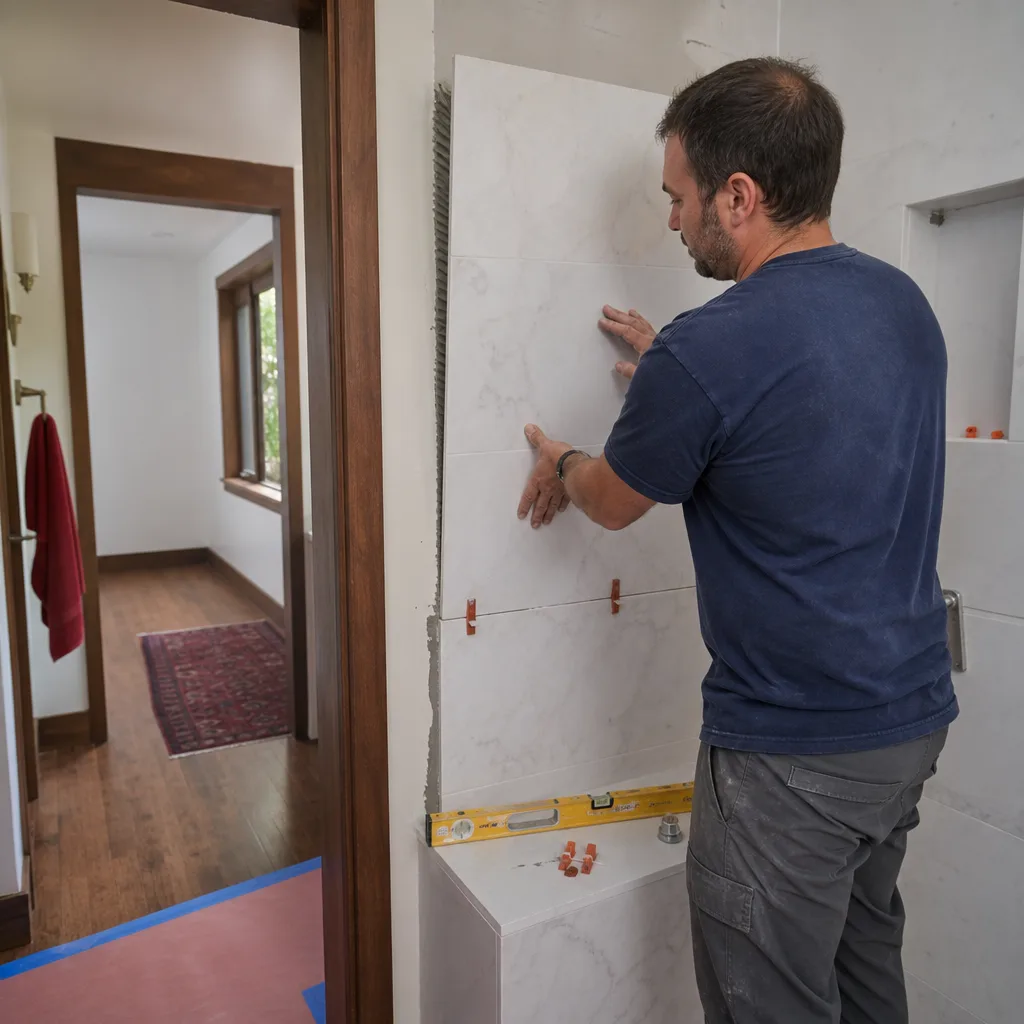
Your remodeled bathroom has three jobs in year one: seal grout at month 3 and 12, re-caulk the wet joints by month 12, and verify the exhaust fan is moving enough air for Santa Clara’s humidity. After that, it’s an annual schedule – re-seal, re-check, snug, and log. The probe test tells you whether a gap is cosmetic or a water problem. The maintenance log tells your warranty company you did your part. Handle those four tasks and a 25-year bathroom is realistic. Ignore them and you’ll be repairing substrate in five. The calendar is the whole point.
When something’s beyond maintenance, or when you’re ready to plan the next remodel, we give you a written price before any work starts. No verbal ballpark, no number that changes at the door. Every project is backed by the 365-Day Done Right Promise – if it’s not done right, we make it right, in writing. Every technician is background-checked and arrives in uniform, and a real person answers the phone around the clock. Our technicians have up to 22 years of experience, and we install fixtures from Kohler, Moen, and Delta because those brands carry their own warranties alongside ours.
Call Penhallow Remodeling Santa Clara at (833) 400-6838 for a free estimate. Whether you need a re-caulk inspection, a fan upgrade, or a full Penhallow Remodeling Santa Clara home walkthrough, we’ll show up in the window we gave, leave the place cleaner than we found it, and put the guarantee in writing. If the kitchen is due for the same treatment, our kitchen remodeling in Santa Clara team runs the same play. Say the price before the work. That’s The Kingswell Way, and it’s how we’ve operated since 2004.
Written by the team at Penhallow Remodeling Santa Clara.