
Last updated November 17, 2026








Free written scope consultation - allowances, timeline, and change-order rules on paper before a single trade is scheduled
Home Remodeling Maintenance Schedule: What to Do and When
Most 365-day remodeling warranties are voided not by bad workmanship but by one missed caulk inspection the homeowner didn’t know was their responsibility. That’s the uncomfortable truth we’ve watched play out again and again: a beautiful kitchen goes in, the crew leaves, and eleven months later a homeowner discovers that a hairline gap in the tub surround or a failed bead of sealant at the counter backsplash was quietly listed as an “owner-maintained” item. The guarantee behind your remodel is only as strong as the maintenance schedule that keeps it valid. This guide walks through exactly what to inspect, when, and how to document it, so a warranty claim is never disputed and a small failure never turns into a big one. We’ll tie it all to Santa Clara’s particular climate, where dry summers and wet winters put specific stress on specific materials.
Quick Answer
A home remodeling maintenance schedule is a documented calendar of inspections and minor upkeep you perform after a project is complete, typically broken into monthly walkthroughs for the first year and seasonal deep checks after that. At minimum, you should inspect caulk and sealant joints monthly, check grout and flashing seasonally, and photograph every check so a warranty claim is never disputed. In Santa Clara, the dry-summer-crack, wet-winter-test pattern means your most important inspections land in late spring and late fall.
Styles & brands we work with
- Kitchen remodeling
- Bathroom remodeling
- Home additions & ADU
- Roofing
- Windows & doors
- Driveway & pavers
- Fence
Table of Contents
- Why maintenance protects the warranty, not just the looks
- Homeowner vs. contractor: who owns which task
- Building the schedule around Santa Clara’s climate
- The month-by-month checklist
- How to document inspections so claims hold up
- The three failures that silently void warranties
- Normal settling vs. a defect worth calling about
- Common mistakes to avoid
- When to call a professional
Why maintenance protects the warranty, not just the looks
A written guarantee is a document with conditions. When we hand a homeowner the Penhallow Remodeling Santa Clara home guarantee packet, it spells out which parts of the job are covered by our 365-Day Done Right Promise and which parts become the homeowner’s to maintain the moment we hand over the keys. That split is not a technicality. It’s the difference between a warranty claim that gets honored and one that gets politely declined.
Here’s how the division usually works. The contractor stands behind the workmanship and the materials installed: a tile that debonds, a cabinet door that fails to close squarely, a shower that leaks at the pan because it wasn’t set correctly. Those are our responsibility. The homeowner, meanwhile, owns the consumable joints and surfaces that wear with normal use: caulk beads, grout lines, sealant at counters and tubs, and the filter-and-vent housekeeping inside a new range hood. When a bead of caulk fails and water gets behind it for six months, the resulting damage is no longer a workmanship failure. It’s a maintenance failure, and most warranties won’t cover it.
The takeaway: maintenance isn’t about keeping your remodel pretty. It’s about keeping the guarantee live. A kitchen remodel that runs $18,000 – $55,000 depending on layout, cabinet line and countertop material deserves a schedule that protects that investment in writing.
Reading the maintenance clause before you sign
Every written guarantee should name the items the homeowner must maintain and the interval at which they should be checked. If your contract doesn’t spell that out, ask for it in writing before work starts. A contractor who gives you a written price up front should have no trouble giving you a written maintenance list at the same time. That’s the standard we hold ourselves to: say the price before the work, show up in the window we gave, leave the place cleaner than we found it, and put the guarantee and its conditions in writing.
Homeowner vs. contractor: who owns which task
The single most common warranty dispute we see is a homeowner who didn’t realize a task was theirs. The fix is simple: sort every task into one of two buckets before the crew leaves, and get the sorting in writing.
Homeowner-maintained (routine upkeep)
- Caulk and sealant beads at tubs, showers, sinks, backsplashes and exterior joints
- Grout cleaning and resealing on tile floors and walls
- Cleaning range hood filters and clearing dryer and bath vents
- Wiping and protecting natural stone or quartz surfaces per the manufacturer’s care card
- Seasonal inspection and clearing of gutter and downspout connections added during a remodel
- Replacing consumables: light bulbs, weatherstripping, door sweeps
Contractor-covered under warranty
- Workmanship defects: a tile that debonds, a door that hangs out of square, a joint that opens because of install error
- Material failures covered by the manufacturer, such as a cabinet hinge that fails under its own warranty
- Water intrusion traced to improper flashing or waterproofing installed during the project
- Anything we installed that fails within the 365-day guarantee window for reasons that aren’t normal wear
When you can point to a line in the guarantee and say “this one’s mine, this one’s yours,” a claim stops being an argument and becomes a formality. If you’re unsure where a task sits, call us and ask before you touch it. A live person answers our phone 24/7, so you’re never stuck guessing.
Building the schedule around Santa Clara’s climate
Santa Clara sits in a climate that punishes joints in two opposite directions. Our summers are dry and hot enough to pull moisture out of caulk and wood, which is why exterior sealant beads crack and cabinet doors drift out of alignment by late August. Our winters bring steady rain that finds every failed flashing detail and every gap in exterior sealant. The result is a maintenance calendar with two hard deadlines: a pre-summer inspection in late spring, before the dry heat does its work, and a pre-winter inspection in late fall, before the rain tests everything.
This is why generic “inspect once a year” advice falls short in Santa Clara. A single annual check misses the moment when the climate is about to stress the most vulnerable part of the job. The homeowners we’ve seen avoid warranty headaches are the ones who inspect before the season turns, not after something fails.
What the two seasons actually stress
- Dry summer (June – September): caulk shrinkage at exterior windows and doors, grout cracking in sun-exposed tile, wood movement at cabinet and trim joints. This is where products like ES Windows and CWS exterior doors earn their keep, and where a failed bead of sealant around a new frame becomes a winter leak.
- Wet winter (December – March): flashing details at roof-to-wall transitions, weep holes in new siding, sealant at exterior thresholds, and any penetration added during the project. James Hardie siding handles the weather well, but the joints between it and the trim still need inspecting.
The month-by-month checklist
Here’s the schedule we recommend to every homeowner who’s just finished a project with us. The first year is the most important, because that’s when the guarantee is live and when the building is still settling into its new state. After the first year, the pattern shifts to seasonal.
Months 1 – 3: settle-in checks
- Month 1: Walk every caulk joint at tubs, showers, sinks and backsplashes. Photograph each one. Check that cabinet doors and drawers still open and close squarely.
- Month 2: Inspect grout lines in any new tile for hairline cracks. Check the seal around new exterior windows and doors. Clean the range hood filter.
- Month 3: First full flashing and exterior sealant check if the project touched the envelope. Confirm no water staining under sinks or around the shower pan.
Months 4 – 9: seasonal stress checks
- Late spring (around month 5 – 6): Pre-summer inspection. Re-caulk any exterior joints that have dried and shrunk. Check exterior door sweeps and thresholds before the heat peaks.
- Mid-summer: Look for grout cracking in sun-exposed areas. Check that cabinet hinges and drawer slides still align. Photograph anything that looks off.
- Late fall (around month 8 – 9): Pre-winter inspection. Walk the entire exterior envelope: flashing, weep holes, sealant at every penetration. This is the check that catches the winter leak before it starts.
Months 10 – 12 and beyond
- Month 11: Full interior re-check, especially any area that saw moisture over the winter. Confirm no soft spots, staining or musty smells.
- Month 12: Year-one review. Compare photos from month one to month twelve. Anything that’s changed is either normal settling or worth a call. This is the moment to raise a warranty claim if something’s genuinely failing.
- Year two onward: Shift to two inspections a year, late spring and late fall, plus the monthly caulk glance.
How to document inspections so a warranty claim is never disputed
Photographs and dates win warranty claims. A homeowner who can show a photo of an intact joint in April and a failing joint in October has a clear timeline. A homeowner who says “it’s been leaking for a while” has a dispute. Documentation is the cheapest insurance a remodel has.
A documentation routine that takes ten minutes a month
- Photograph every caulk and grout joint at the same angles each month, so the comparison is honest.
- Name each photo with the date and the room (e.g., “2026-03-14-master-shower-seam”).
- Keep a simple log: date, what you inspected, what you found, and any action taken.
- Save the original move-in photos somewhere you can find them a year later. Those are the baseline for every claim.
- If you re-caulk or reseal anything yourself, note it and keep the product name. That tells a contractor the maintenance was done correctly.
When you file a claim, hand over the log and the photo set. If it’s covered by our 365-Day Done Right Promise, we come back and fix it at no charge, and the documentation makes the process quick. If a repair fails, the free return visit costs you nothing: no service call, no re-inspection fee.
The three failures that silently void warranties
In our experience, three specific maintenance failures cause most of the warranty claims that get declined. None of them look dramatic when they happen. All of them are cheap to prevent and expensive to ignore.
1. A failed caulk bead left too long
Caulk cracks first at exterior joints and in wet areas. Water gets behind a failed bead, and the damage shows up months later as soft drywall or a stained cabinet bottom. By then, the warranty sees maintenance neglect, not a workmanship defect. Inspect monthly, re-caulk when you see a gap.
2. Deferred grout maintenance
Grout is porous. Unsealed or cracked grout lets water into the substrate (the moisture-resistant layer behind your tile). A floor or shower that fails because the grout was never maintained is a homeowner responsibility, not a warranty item. Clean and reseal on the manufacturer’s schedule.
3. Blocked vents and filters
A clogged range hood filter or a blocked bath vent pushes moisture and grease into places they shouldn’t go, and the resulting damage is almost always excluded. Clean filters monthly, and confirm exterior vent flaps open and close freely.
Normal settling vs. a defect worth calling about
Houses move. A new remodel settles into its surroundings over the first year, and some of what you see is completely normal. Knowing the difference saves you a call and, just as important, tells you when you have a real claim.
What normal settling looks like
- Hairline cracks in grout or drywall at seams that don’t widen over time
- Cabinet doors that need a quarter-turn of adjustment on the hinge
- A door that sticks slightly in humid weather and frees up when it dries
- Minor caulk shrinkage at exterior joints in the dry season
What’s worth a call
- A crack that widens or reappears after being patched
- Any water staining, soft drywall or musty smell near a shower or sink
- A tile that debonds or sounds hollow when tapped
- Flashing detail that’s visibly lifting or pulling away from the wall
- Anything in this second group inside the 365-day window is a warranty matter, and we want to hear about it.
Common Mistakes to Avoid
- Skipping the pre-winter envelope check. Santa Clara’s rain arrives fast, and a flashing detail that looked fine in September is the first thing to leak in December. Do the check in late fall, not after the first storm.
- Re-caulking over a wet or dirty joint. Sealant won’t bond to a damp surface, so the new bead fails within weeks. Clean and dry the joint fully before you re-seal, or have us do it.
- Assuming “maintenance” means “cosmetic.” A caulk bead isn’t decoration; it’s the waterproofing detail that keeps water out of the wall. Treat it like part of the structure.
- Throwing away the move-in photos. Without a baseline, a claim turns into a memory contest. Keep the originals somewhere you can find them.
- Waiting until something fails to read the warranty. The maintenance clause tells you which tasks are yours. Read it the week the job is done, not the month it fails.
- Not noting any re-sealing you’ve done. If you maintain a joint yourself, log the product and the date. It shows the contractor the upkeep was done to spec.
- Calling a settling crack a defect, or a defect “just settling.” Both mistakes cost you. Use the two lists above to sort them.
When to Call a Professional
Some maintenance is homeowner work. Some of it, left to a homeowner, risks a voided warranty or a worse leak. Call a professional when you find water intrusion you can’t trace, a flashing or waterproofing detail that’s failed inside the guarantee window, or a crack that widens after patching. For anything involving the shower pan, exterior envelope or a load-bearing element, don’t pry at it yourself: a wrong repair can turn a covered claim into an uncovered one. Similarly, if you’re unsure whether something is normal settling or a defect, a quick call settles it before you touch anything. Penhallow Remodeling Santa Clara offers free estimates in Santa Clara, and a live person answers the phone 24/7. Call (833) 400-6838 to talk it through.
See the difference
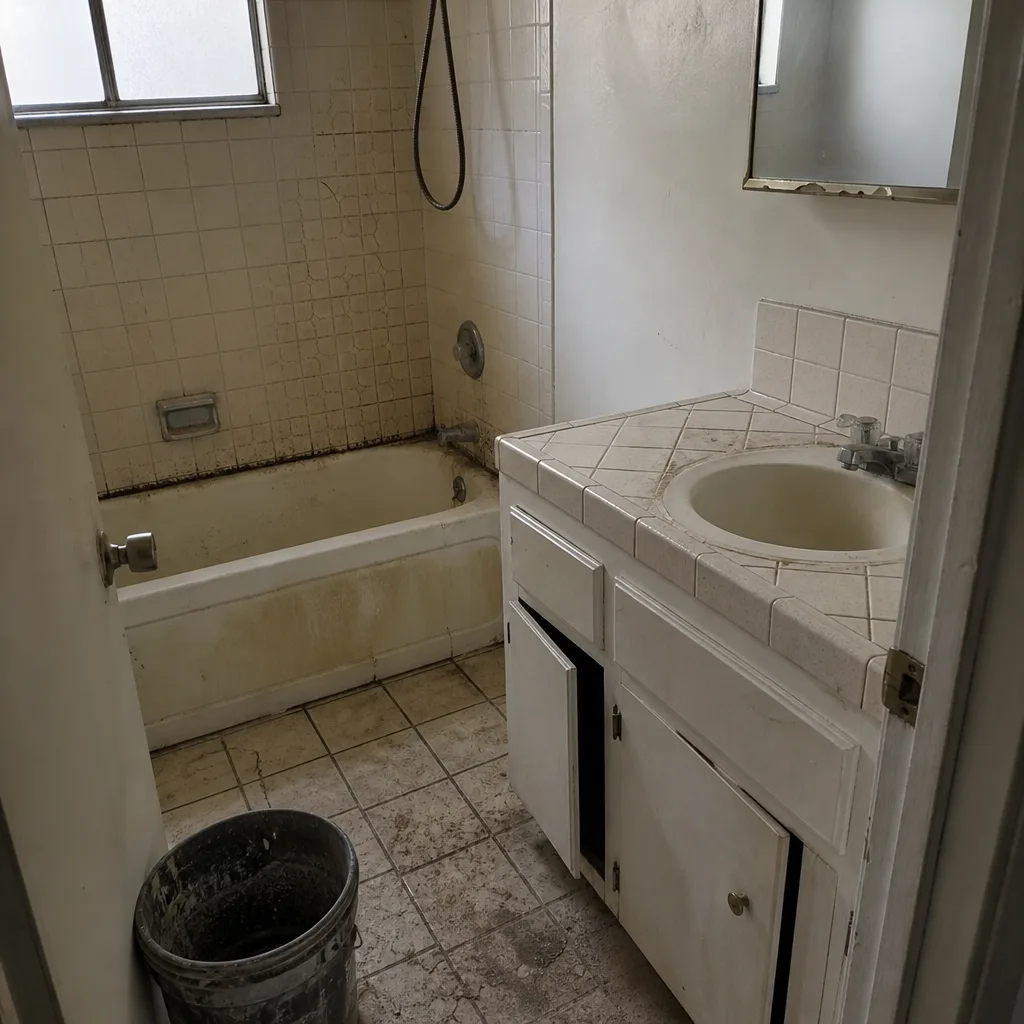 Before
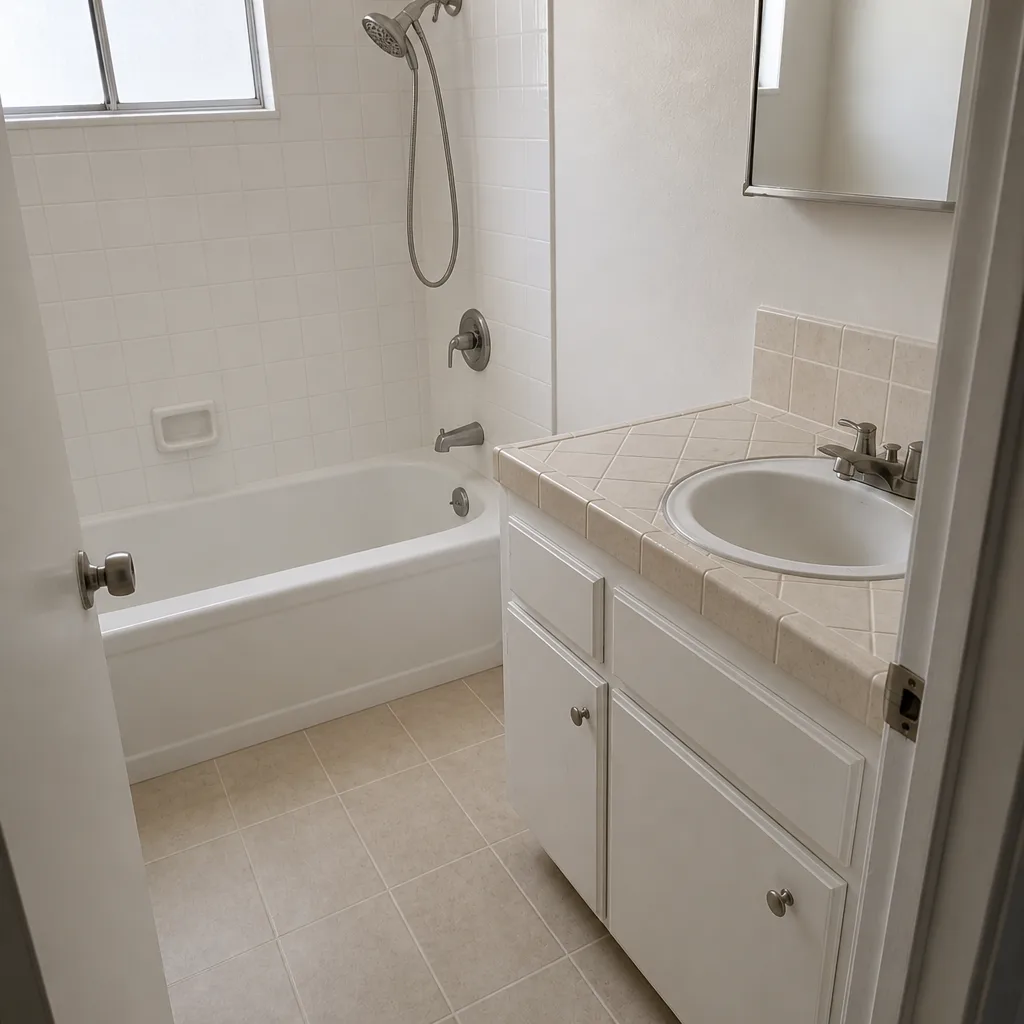 After
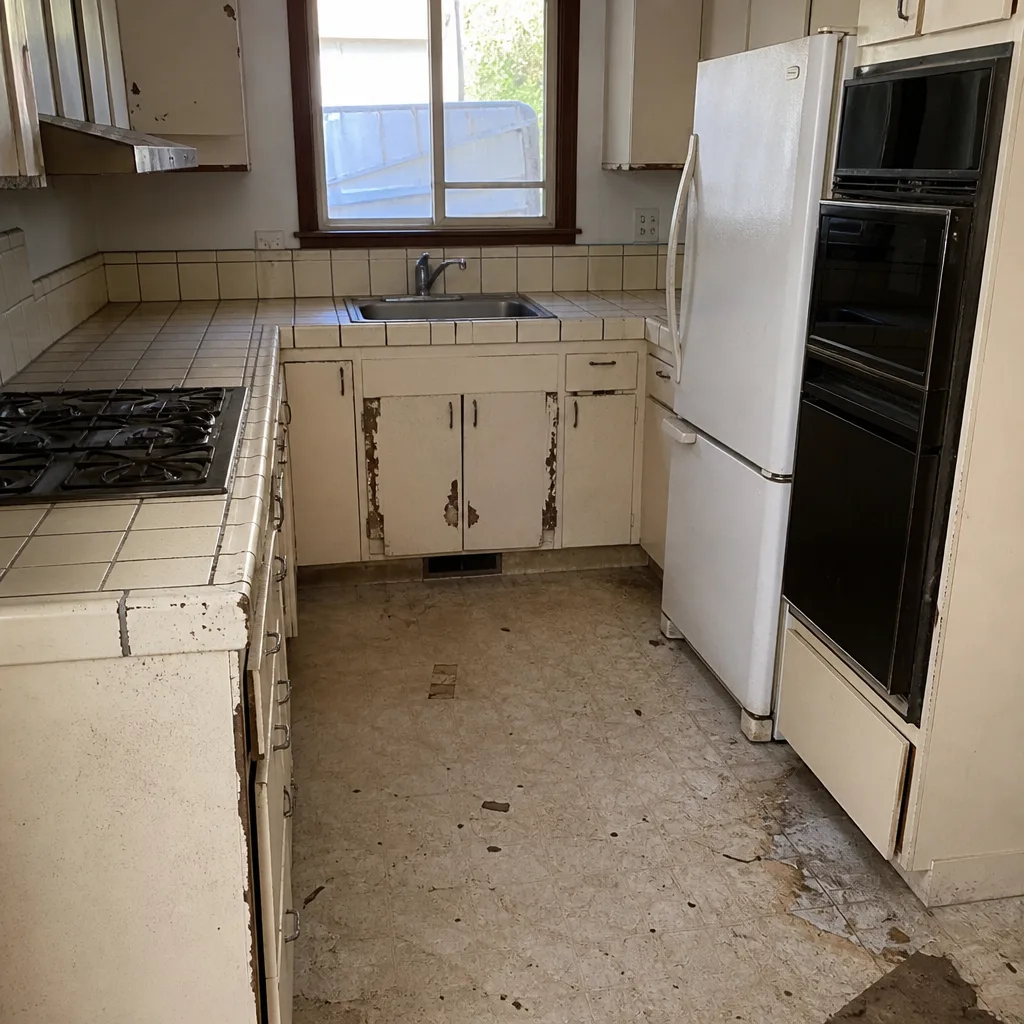 Before
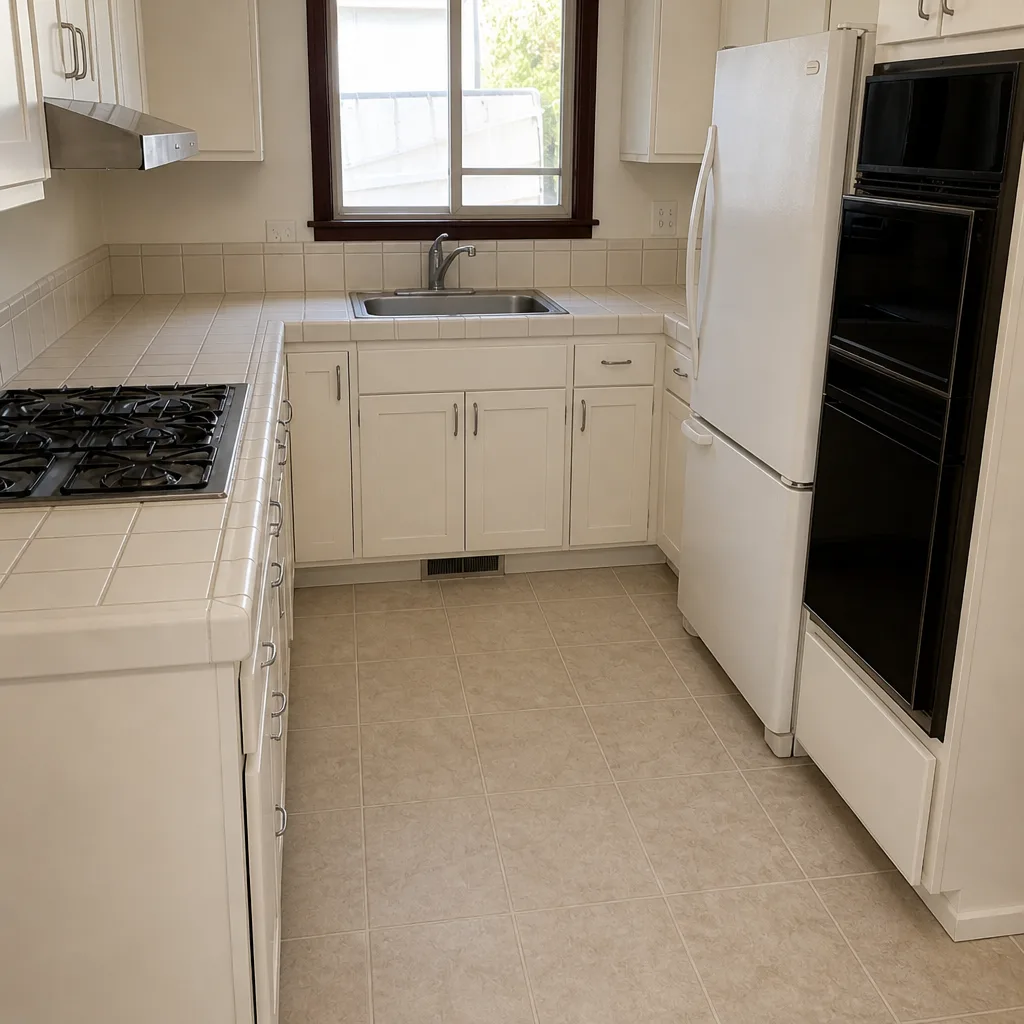 After
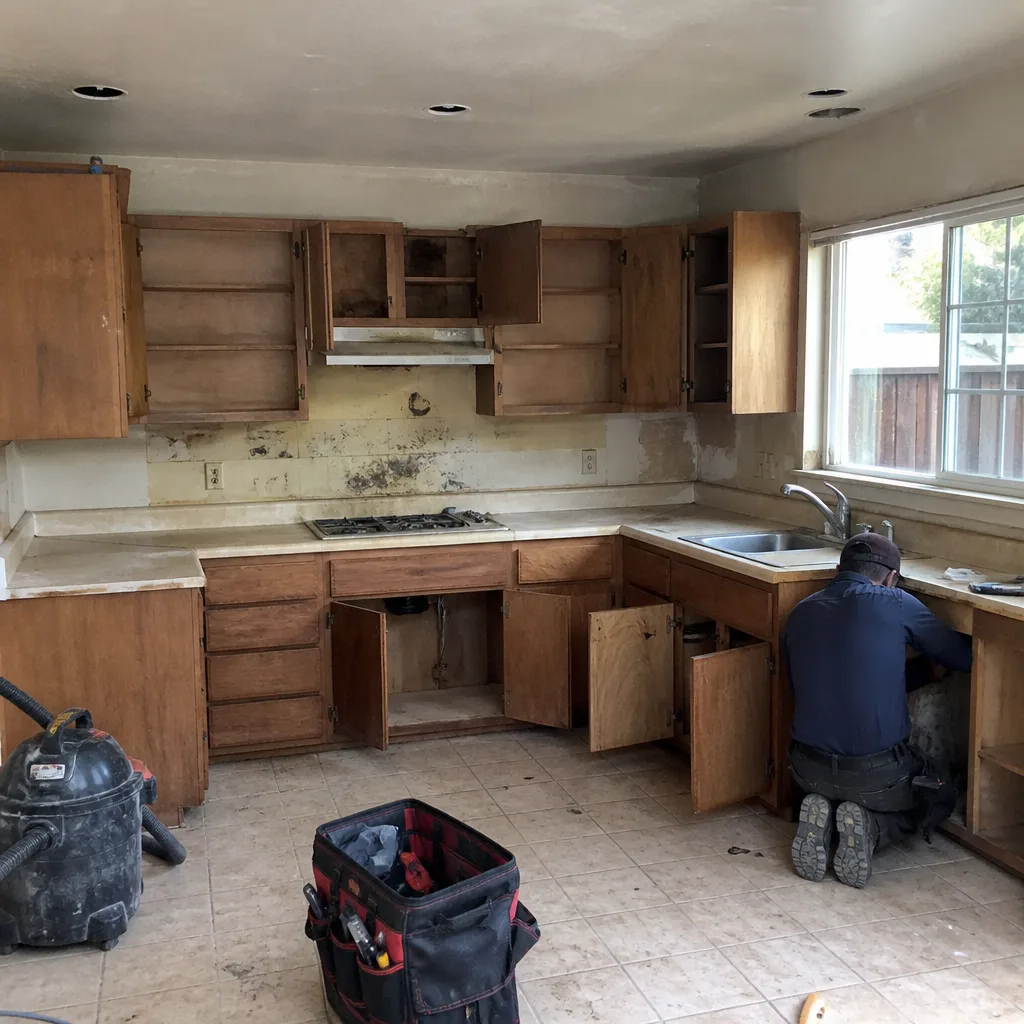 Before
 After
Frequently Asked Questions

The homeowner is responsible for routine upkeep of consumable joints and surfaces: caulk beads at tubs, sinks and exteriors, grout cleaning and resealing, range hood filter cleaning, and vent clearing. These items wear with normal use, so warranties treat them as homeowner-maintained. Anything installed that fails for a workmanship or material reason is typically the contractor’s responsibility. Call (833) 400-6838 if you’re unsure which bucket a task falls into; estimates and advice are free.
Inspect caulk and grout monthly for the first year, with a deeper re-seal at the seasonal turns: late spring before the dry heat and late fall before the rain. Santa Clara’s dry summers crack exterior sealant and its wet winters test every joint, so two hard seasonal deadlines matter more than a single annual check. Call (833) 400-6838 to schedule a warranty review if you find something that looks wrong.
Yes, in many cases. A warranty covers workmanship and material defects, not the damage that follows from neglected caulk or grout. If water gets behind a failed bead you didn’t maintain, most warranties treat the resulting damage as a maintenance failure. Reading the maintenance clause the week your job is finished is the simplest way to avoid this. Call (833) 400-6838 for a free estimate if you need help assessing a joint.
Normal settling shows up as hairline cracks that don’t widen, cabinet doors that need a small hinge adjustment, and doors that stick slightly in humid weather. A defect looks like a crack that widens after patching, water staining or soft drywall, a tile that sounds hollow, or flashing that’s visibly lifting. If it’s in the second group and inside your guarantee window, call before you touch it. Estimates are free at (833) 400-6838.
Photograph every joint at the same angle each month, name each photo with the date and room, keep a simple log of findings, and save your original move-in photos as the baseline. A dated photo set with a clear timeline is what turns a claim into a formality rather than a dispute. If a repair fails, our free return visit costs nothing: no service call, no re-inspection fee. Call (833) 400-6838 to file a claim.
Routine re-caulking of homeowner-maintained joints is fine to do yourself, provided you clean and dry the surface fully first so the new bead bonds. If a joint keeps failing, or the failure involves waterproofing inside a shower or the exterior envelope, have a professional look at it; a wrong repair inside the guarantee window can complicate a claim. Penhallow technicians have up to 22 years of experience, are background-checked, and arrive in uniform. Call (833) 400-6838 for a free estimate.
The Bottom Line
Your remodel’s guarantee is a written document with conditions attached, and a maintenance schedule is how you keep it live. Inspect caulk and grout monthly, do a pre-summer and pre-winter envelope check, and photograph every joint at every stage so a claim is never disputed. In Santa Clara, the dry-summer-crack and wet-winter-test pattern makes those two seasonal deadlines the most important dates on your calendar. When a task is yours and it’s cheap, do it. When it’s a real defect inside the guarantee window, call before you touch it. The goal isn’t to preserve the looks; it’s to preserve the promise.
If you want a written price, a written guarantee and a maintenance list in hand before a single cabinet is pulled, we’re glad to help. Penhallow Remodeling Santa Clara offers free estimates in Santa Clara and a live person answers the phone 24/7. Call (833) 400-6838 to schedule yours. Whether you’re planning Kitchen Remodeling in Santa Clara, Bathroom Remodeling in Santa Clara, or a larger project with a General Contractor in Santa Clara, the schedule in this guide is the same one we hand over on every job.
Written by the team at Penhallow Remodeling Santa Clara.